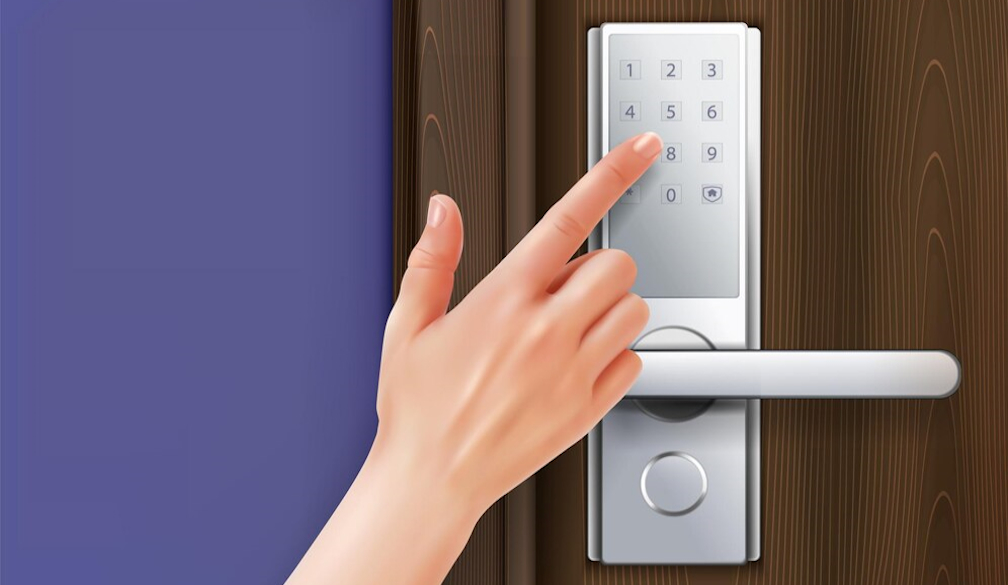
Setting Up Your Smart Door Lock: Easy Tips and Tricks

Installing a smart door lock can enhance your home’s security and add convenience to your daily life. With features like remote access, automated locking, and keyless entry, smart locks are a modern upgrade from traditional locks. Here’s a comprehensive guide with easy tips and tricks to help you set up your smart door lock effortlessly.
1. Choose the Right Smart Lock
Before you begin, it’s essential to choose the right smart lock for your needs. Consider factors like compatibility with your door, connectivity options (Wi-Fi, Bluetooth, or Z-Wave), and additional features such as fingerprint recognition or voice control. Ensure that the smart lock you choose is compatible with your door’s thickness and existing deadbolt.
2. Gather Your Tools
Most smart locks come with the necessary installation hardware, but you may need a few additional tools. Common tools required include:
- Screwdriver (Phillips or flathead, depending on your lock)
- Drill (if new holes are needed)
- Measuring tape
- Pencil
- Level
Having these tools ready will make the installation process smoother and quicker.
3. Remove the Existing Lock
Start by removing your existing lock. Unscrew the screws holding the interior and exterior components of the lock in place. Carefully remove the old lock from the door. If your new smart lock uses the same holes, you’re ready to proceed. If not, you may need to make adjustments to the door or door frame.
4. Install the Deadbolt
Most smart locks come with a new deadbolt. Follow the manufacturer’s instructions to install it. Insert the deadbolt into the hole on the edge of the door, ensuring that it aligns properly. Secure it in place with screws. Make sure the deadbolt moves smoothly and aligns with the strike plate on the door frame.
5. Attach the Exterior Assembly
Next, attach the exterior assembly of the smart lock. This component typically includes the keypad or touchpad and the keyhole (if your lock has one). Feed any necessary cables through the hole in the door. Align the exterior assembly with the deadbolt and secure it with screws. Make sure it sits flush against the door.
6. Install the Interior Assembly
The interior assembly houses the battery compartment and any manual controls. Connect any cables from the exterior assembly to the interior assembly, following the manufacturer’s instructions. Secure the interior assembly with screws. Insert the batteries and ensure all connections are secure. Close the battery compartment.
7. Align the Lock
Proper alignment is crucial for smooth operation. Ensure that the deadbolt extends and retracts without resistance. Use a level to make sure the lock is perfectly aligned. If there are any issues, adjust the components as necessary until the deadbolt operates smoothly.
8. Test the Lock Mechanism
Before finalising the installation, test the lock mechanism several times. Use the keypad or touchpad to lock and unlock the door. If your lock has a keyhole, test it with the provided key. Ensure that the lock functions correctly and that the deadbolt extends fully into the strike plate.
9. Connect to Your Smart Home System
Many smart locks offer integration with smart home systems, allowing you to control the lock remotely. Follow the manufacturer’s instructions to connect your smart lock to your Wi-Fi network or other home automation system. Download the corresponding app and create an account if required. Pair the lock with the app and test the remote functionality.
10. Customise Settings and Features
Once your smart lock is connected, customise the settings to suit your preferences. Set up user codes for family members or trusted individuals. Enable features like auto-lock, which automatically locks the door after a set period. If your lock supports voice control, link it to your virtual assistant, such as Amazon Alexa or Google Assistant.
11. Regular Maintenance
To ensure your smart lock continues to function properly, perform regular maintenance. Check the batteries periodically and replace them as needed. Keep the exterior components clean and free of debris. Regularly update the lock’s firmware through the app to benefit from the latest features and security enhancements.
Conclusion
Setting up a smart door lock is a straightforward process that can significantly enhance your home’s security and convenience. By following these easy tips and tricks, you can install and configure your smart lock with confidence. Choose the right lock for your needs, gather the necessary tools, and follow the step-by-step instructions to ensure a smooth installation. With proper setup and maintenance, your smart lock will provide reliable security and peace of mind for years to come.


